10 October 2014
The Holmbury Roflex Series Couplings should provide years of reliable service in the most demanding applications when used properly.
Over time though, the internal parts may wear due to dirty oil passing through the coupling or other factors.
There’s no need to worry though. Holmbury offers repair kits for each sized coupling and it allows you to completely rebuild the internal parts of the couplings and the process is very simple.
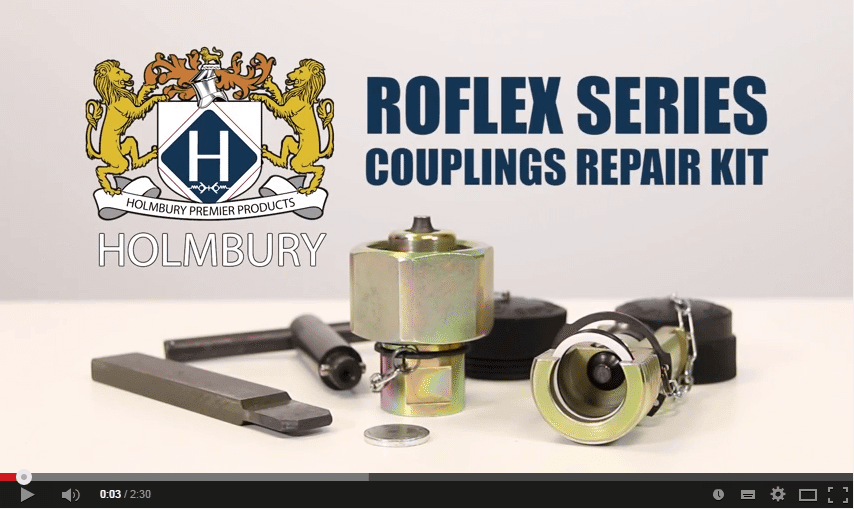
Utilizing the repair toolkit consisting of a T-wrench, calibration disk and staking tool, which are all sized for the particular coupling size being repaired, along with the appropriate repair kit consisting of a poppet, spring and retainer for each coupling half as well as the seals for the probe half, you have all the components necessary to fully rebuild the couplings.
It is imperative that you only rebuild one coupling half at a time as you need to completely assemble mating coupling to ensure proper spacing of the parts.
I’ve already removed the internal components from the cut-away model as you can see. It is recommended that you thoroughly flush the coupling with mineral spirits or a similar type solvent to remove any loose debris, being careful to allow adequate ventilation and observe proper safety precautions.
Insert the calibration disk into the half you are repairing and screw the probe and sleeve together until the disk is fixed. Insert the new poppet, spring, and threaded collet into the half you are repairing and tighten with a T-wrench until the spring is fully compressed.
Then turn back counterclockwise one-eighth of a turn. At this point, you would set the still assembled coupling upright on a flat surface, insert the staking tool through the port of the newly reassembled half and into the slots of the collet, striking the tool firmly with a hammer to sufficiently distort the thread of the collet, so it will not loosen when subjected to the severe hydraulic pulsations these couplings are designed to withstand.
Unscrew the coupling halves and remove the calibration disk. If repairing the probe half, insert the O-ring first and then the back-up ring into the groove.
Now you can repair the other half using the same procedure and when completed, you will have a set of couplings that should give you many more years of productive service.